SKETCHFAB Unity Exporter
The Unity exporter lets you publish 3D models straight from Unity to Sketchfab. It uses the glTF format and supports model objects and PBR materials, as well as solid and skinning animations.
- AUTHOR
- Sketchfab
- LAST UPDATE
- 2017/03/01
- COMPATIBILITY
-
- Unity 5.5.1f1
- LICENSE
- Freeware
- LANGUAGE
- English
How to install
- Download latest release package.
- Open the package to import it into your current Unity project.
- Once imported, the exporter is available in the menu bar under Tools → Publish to Sketchfab
How to use
- Launch the exporter from Tools → Publish to Sketchfab.
- Log in to Sketchfab with your email and password.
- Enter a name, description, and tags.
- Mark the model as Private, Draft, and/or Animation if necessary.
- Select the game objects you want to export. (Note: Selecting a parent object will also export all its children hierarchy.)
- Click Upload!
You will be redirected to the model page. When processing is complete, you can view your model on Sketchfab, adjust rendering settings, and save the default view.
If you experience any problem, please report it here.
For more detailed instructions and other information, see the GitHub documentation or visit the blog, or watch the video above.
Unity3D Editor: Tips and tricks
The publication covered the following points:
Displays icons and text on the object in the scene;
Displaying text or icons in the Project;
Template created scripts;
Opening and creating a project through Explorer context menu;
Adding subscribers to the event in the inspector.
To reduce code in some scripts in all the fields made public.
1. Displays icons and text on the object in the scene

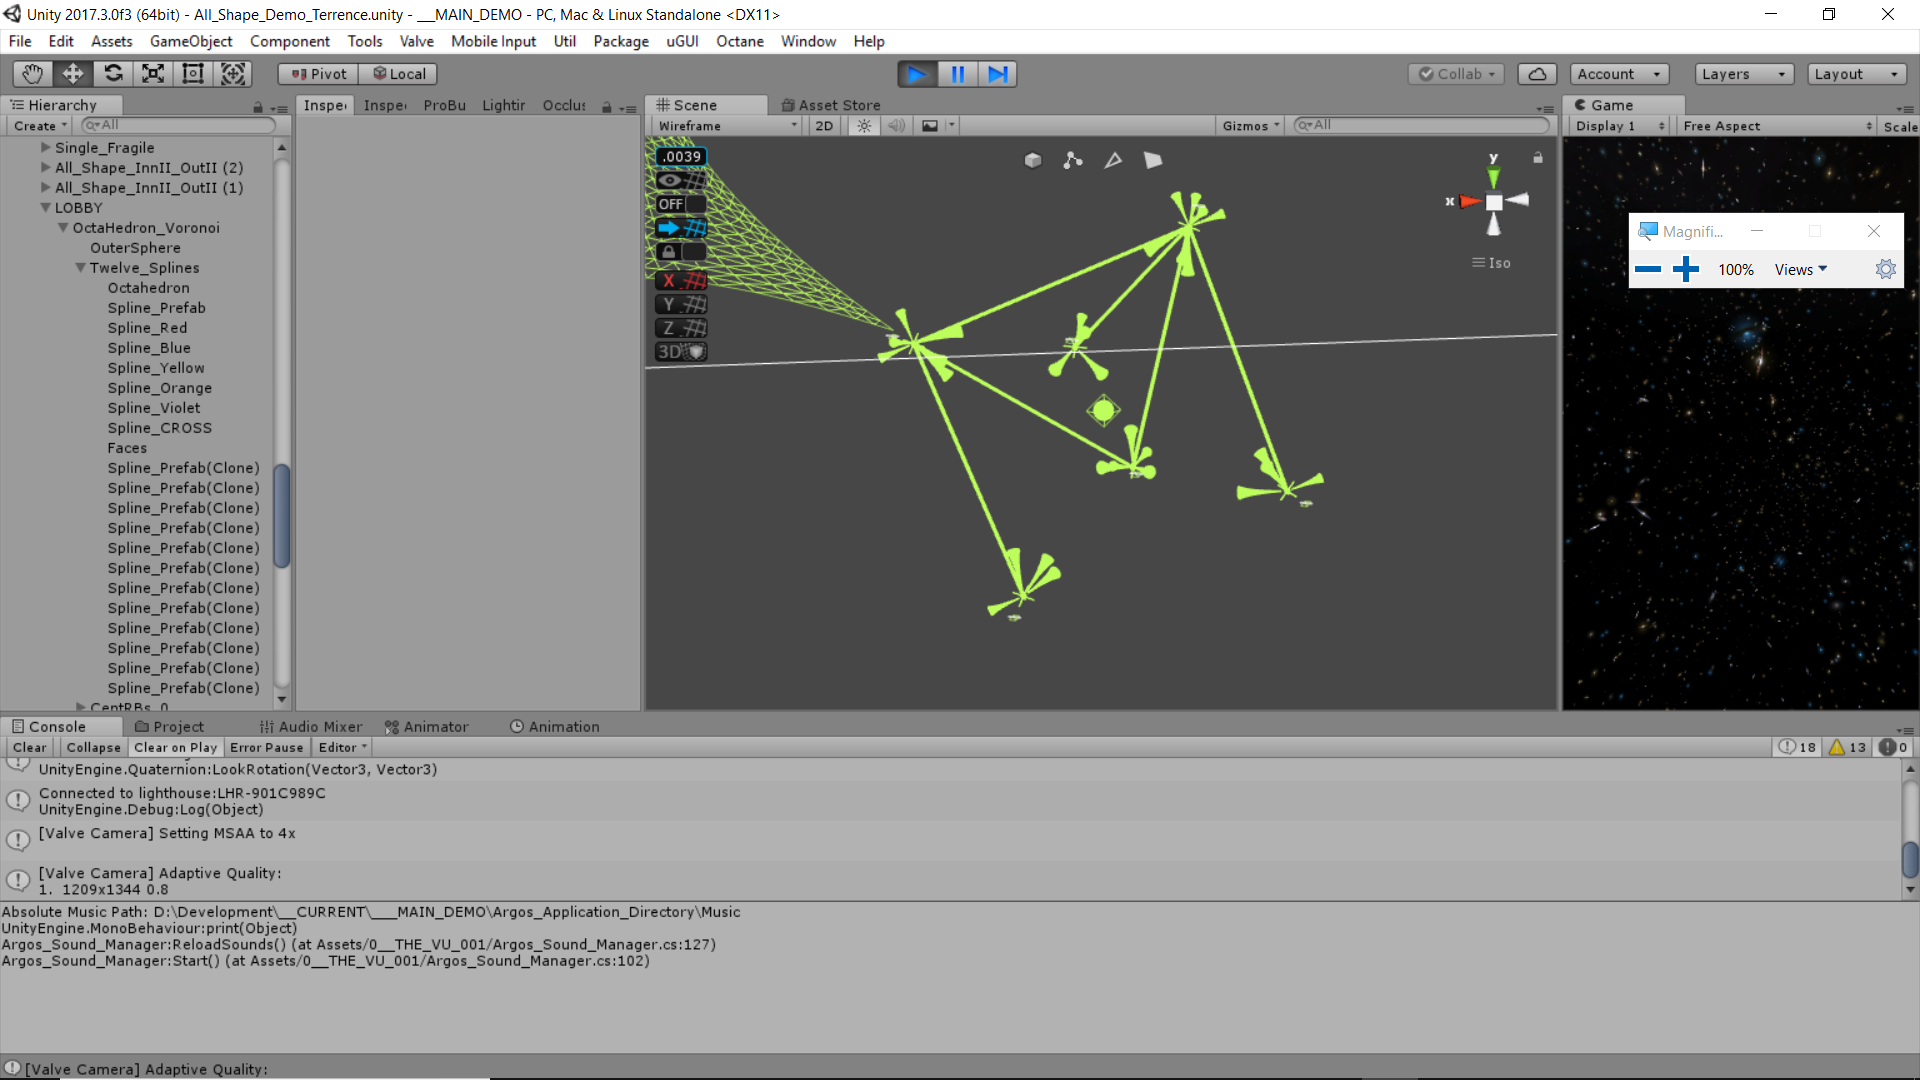
Name or icon can display the built-in editor: Gizmo and Icon Display Controls.
Icon can also be displayed using the method Gizmos.DrawIcon. The icon file must be located in the folder "Assets / Gizmos".
public class IconExample : MonoBehaviour
{
    void OnDrawGizmos()
    {
        Gizmos.DrawIcon(transform.position, "Icon.png", true);
    }
}
If you want to display your text, you can use the following code:
public static class GizmosUtils
{
    public static void DrawText(GUISkin guiSkin, string text, Vector3 position, Color? color = null, int fontSize = 0, float yOffset = 0)
    {
#if UNITY_EDITOR
        var prevSkin = GUI.skin;
        if (guiSkin == null)
            Debug.LogWarning("editor warning: guiSkin parameter is null");
        else
            GUI.skin = guiSkin;

        GUIContent textContent = new GUIContent(text);

        GUIStyle style = (guiSkin != null) ? new GUIStyle(guiSkin.GetStyle("Label")) : new GUIStyle();
        if (color != null)
            style.normal.textColor = (Color)color;
        if (fontSize > 0)
            style.fontSize = fontSize;

        Vector2 textSize = style.CalcSize(textContent);
        Vector3 screenPoint = Camera.current.WorldToScreenPoint(position);

        if (screenPoint.z > 0) // checks necessary to the text is not visible when the camera is pointed in the opposite direction relative to the object
        {
            var worldPosition = Camera.current.ScreenToWorldPoint(new Vector3(screenPoint.x - textSize.x * 0.5f, screenPoint.y + textSize.y * 0.5f + yOffset, screenPoint.z));
            UnityEditor.Handles.Label(worldPosition, textContent, style);
        }
        GUI.skin = prevSkin;
#endif
    }
}
public class GizmosTextExample : MonoBehaviour
{
public float yOffset = 16;
public Color textColor = Color.cyan;
public int fontSize = 12;
private void OnDrawGizmos()
{
GizmosUtils.DrawText(GUI.skin, "Custom text", transform.position, textColor, fontSize, yOffset);
}
}2. Displaying text or icons in the Project window

To do this, use the delegate EditorApplication.projectWindowItemOnGUI.
The following example is slightly edited the code found on the link: Extending the editor: Project window.
[InitializeOnLoad]
internal class CustomProjectWindow
{
    static readonly  Color labelColor = new Color(0.75f, 0.75f, 0.75f, 1.0f);

    static CustomProjectWindow()
    {
        EditorApplication.projectWindowItemOnGUI += OnProjectWindowGUI;
    }

    static void OnProjectWindowGUI(string pGUID, Rect pDrawingRect)
    {
        string assetpath = AssetDatabase.GUIDToAssetPath(pGUID);
        string extension = Path.GetExtension(assetpath);
        bool icons = pDrawingRect.height > 20;

        if (icons || assetpath.Length == 0)
            return;

        GUIStyle labelStyle = new GUIStyle(EditorStyles.label);
        Vector2 labelSize = labelStyle.CalcSize(new GUIContent(extension));

        Rect newRect = pDrawingRect;
        newRect.width += pDrawingRect.x;
        newRect.x = newRect.width - labelSize.x - 4;

        Color prevGuiColor = GUI.color;
        GUI.color = labelColor;
        GUI.Label(newRect, extension, labelStyle);
        GUI.color = prevGuiColor;
    }
}
3. Templates to create scripts

When creating a new script in the Project, for it is possible to select one of the existing templates scripts.
If you want to create a new script, it has already been written by any particular code, the data can be pre-edit templates or create your own.
Templates are usually located in the following folders:
Windows: \ Program Files \ Unity \ Editor \ Data \ Resources \ ScriptTemplates
OS X: /Applications/Unity/Unity.app/Contents/Resources/ScriptTemplates
Describe the parameters in the template name "81-C # Script-NewBehaviourScript.cs:
"81" - the serial number of the template in the context menu;
C # Script - the display name in the context menu;
NewBehaviourScript - credit default name of the generated script.
4. Opening and creating a project through Explorer context menu

In Windows Explorer, you can add items to create and open an existing project Unity3D.
Ready registry files can be downloaded here (Tip # 63 Tip # and 71):
5. Adding subscribers to the event inspector

Sample code to create an object after a specified period of time:
public class InvokeRepeating : MonoBehaviour
{
    public UnityEvent onInvoke;
    public float repeatTime = 3f;
    public float startTime = 1f;

    void Start()
    {
        InvokeRepeating("Execute", startTime, repeatTime);
    }

    void Execute()
    {
        onInvoke.Invoke();
    }
}
public class CreateObject : MonoBehaviour
{
public Transform Prefab;
public void Execute()
{
Instantiate(Prefab, transform.position, transform.rotation);
}
}I hope this publication will be useful to you.
All data posted on the site represents accessible information that can be browsed and downloaded for free from the web.
| Hi David,
The Unity Asset Store and Unity Connect provide you with a unique chance to showcase your work and earn money, even before you finish your game, app or interactive experience. Learn more about how you can utilize your Unity ecosystem and community, to boost your chance of creative and financial success.
Keep creating, |

