Native SDK Getting Started
In this section, you will learn how to build your first application: “HelloVR”.
Contents |
Set up your development environment
The first step is to set up the development environment on your PC.
- Download, install and launch your Android™ Studio: https://developer.android.com/studio
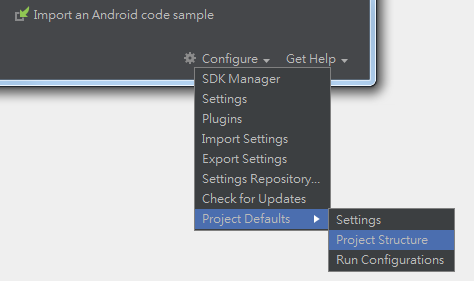
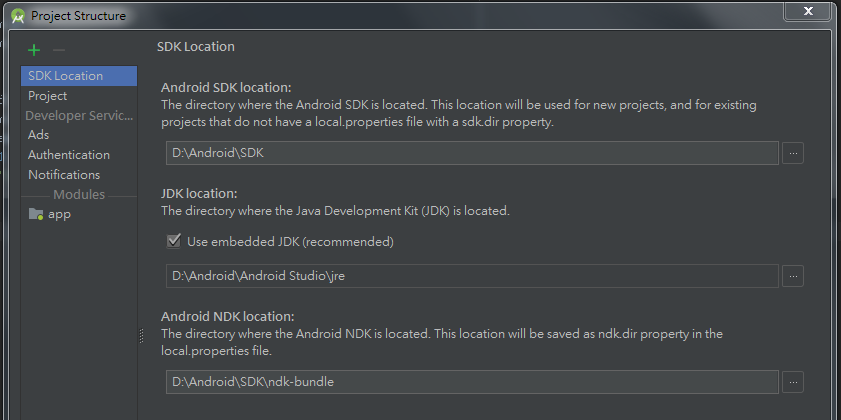
- Go to Configure > Project Defaults > Project Structure to set up your SDK location, JDK location and NDK location in Android™ Studio.
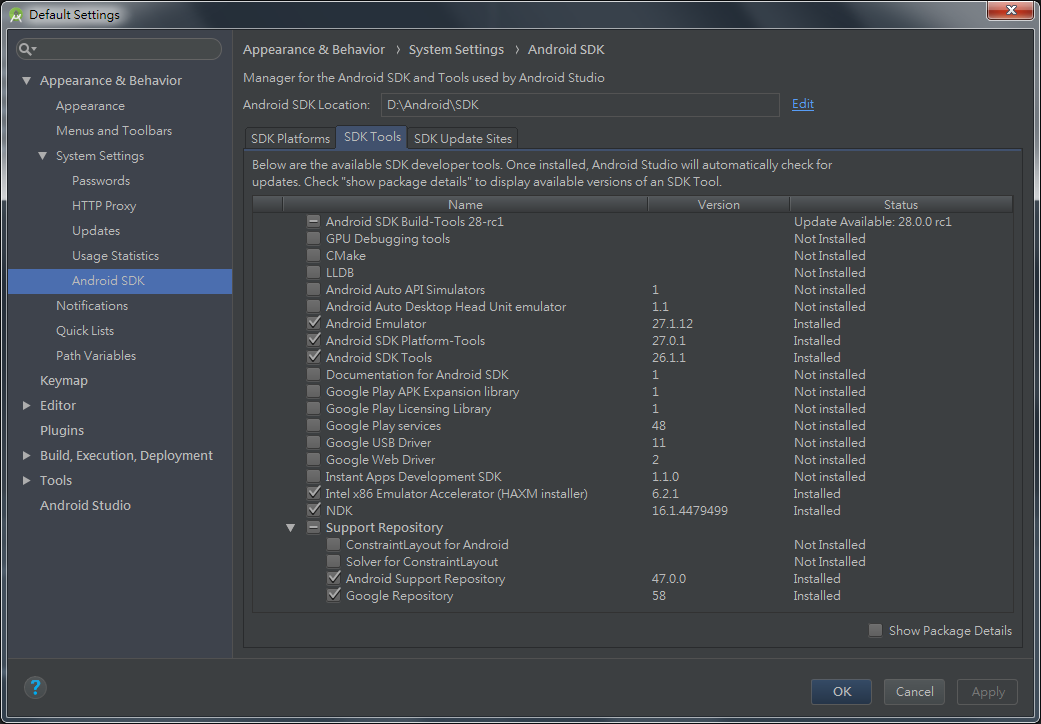
- Go to Configure > SDK Manager to set up your SDK Tools(25.0.2 or above) in Android™ Studio.
Download the Wave SDK
Register as VIVE developer and then download the Wave SDK.
SDK Folder Layout:
- apps: native sample APK.
- devices: device service APK.
- docs: developer guide.
- libs: SDK client and pluginkit library.
- plugins/unity: Unity plugin and sample.
- samples: native sample source.
- services: server and service APK.
- tools: SDK tool APK.
For more information, please refer to SDK/README.md
Build the Wave App
- Use Android™ Studio to open the sample project SDK/samples/wvr_hellovr.
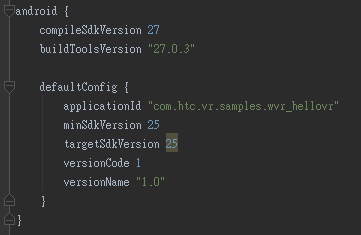
- Modify app/build.gradle to comply with the Android™ SDK and build tool version of your Android™ Studio and then do File > Sync Project with Gradle Files.
- Make project: Build > Make Project.
- Build apk: Build > Build APK(s).
- After build successfully, you will see Event Log “APK(s) generated successfully”. Click locate to get the sample APK.

Install the Wave Services
Note
- If you use VIVE Wave™ Dev Kit, such as VIVE Focus, to develop your app, all necessary Wave services are pre-installed in system. You can skip this section and directly go to next step Run the Wave App.
- If you have no VIVE Wave™ Dev Kit on hand, you can prepare an Android™ phone to run your sample app. But before that, you need to follow the steps of this section to set up the execution environment on your phone.
To run the Wave app, you need to have two kinds of APKs in your Android™ phone:
- A central Server to manage all Wave apps and Wave devices.
- A HMD and a controller DeviceService to route device tracking data and user input to Wave apps.
The following sub-sections will introduce you to install these necessary APKs on your phone.
Install Wave VR Server APK
Wave VR Server is the central server of Wave runtime. The major functions of Wave VR Server include:
- Establish the connection between the Wave app and device service to obtain user input and tracking data.
- Send the notification events to the Wave app to indicate the state change of Wave devices.
- Manage the lifecycle of the Wave app and device service.
You just need to connect your phone to PC and use Android adb to install wavevr_server.apk to your phone.
adb install SDK/services/wavevr_server.apk
Note
- Wave VR Server(wavevr_server.apk) MUST be installed prior to other Wave device services and apps.
Install Wave DeviceService APK
DeviceService is the device driver which routes the tracking data and user input from Wave device to Wave app. One question is: What “device” service shall I install? It depends on what Wave device you are using.
- If you are using Wave Dev Kit, the corresponding device service of HMD and controller should be already pre-installed in system. You can skip this step.
- If you are using phone, Wave SDK provides two tools, mobile HMD and controller emulator, for your practice and development. See the detailed steps below.
Mobile HMD
Mobile HMD device service is the simple HMD driver for phone. It gets the sensor data from SensorManager of Android framework and calculate the current orientation of your head.
adb install SDK/tools/wvr_mobileHMD.apk
Controller Emulator
Controller emulator is a simple tool which uses second phone(Remote) as controller which communicates with the first phone(Host) as HMD via Bluetooth connection. If you would like to use controller emulator, you need to prepare the second phone first.
Assume you have two phones on hand:
Go to Settings > Bluetooth to turn on Bluetooth of both phones and pair them each other.
- On the HMD phone, tap the controller phone’s name on the list of Bluetooth devices.
- Confirm the pairing dialog on both phones and then leave Android Settings.
Install the host side APK into your first phone, which you already have installed Wave VR server and HMD device service, and then launch it from the app list.
// HMD phone
adb install SDK/tools/wvr_controller_emu_host.apk
- Install the remote side APK into your second phone. Then launch it from the app list.
// Controller phone
adb install SDK/tools/wvr_controller_emu_remote.apk
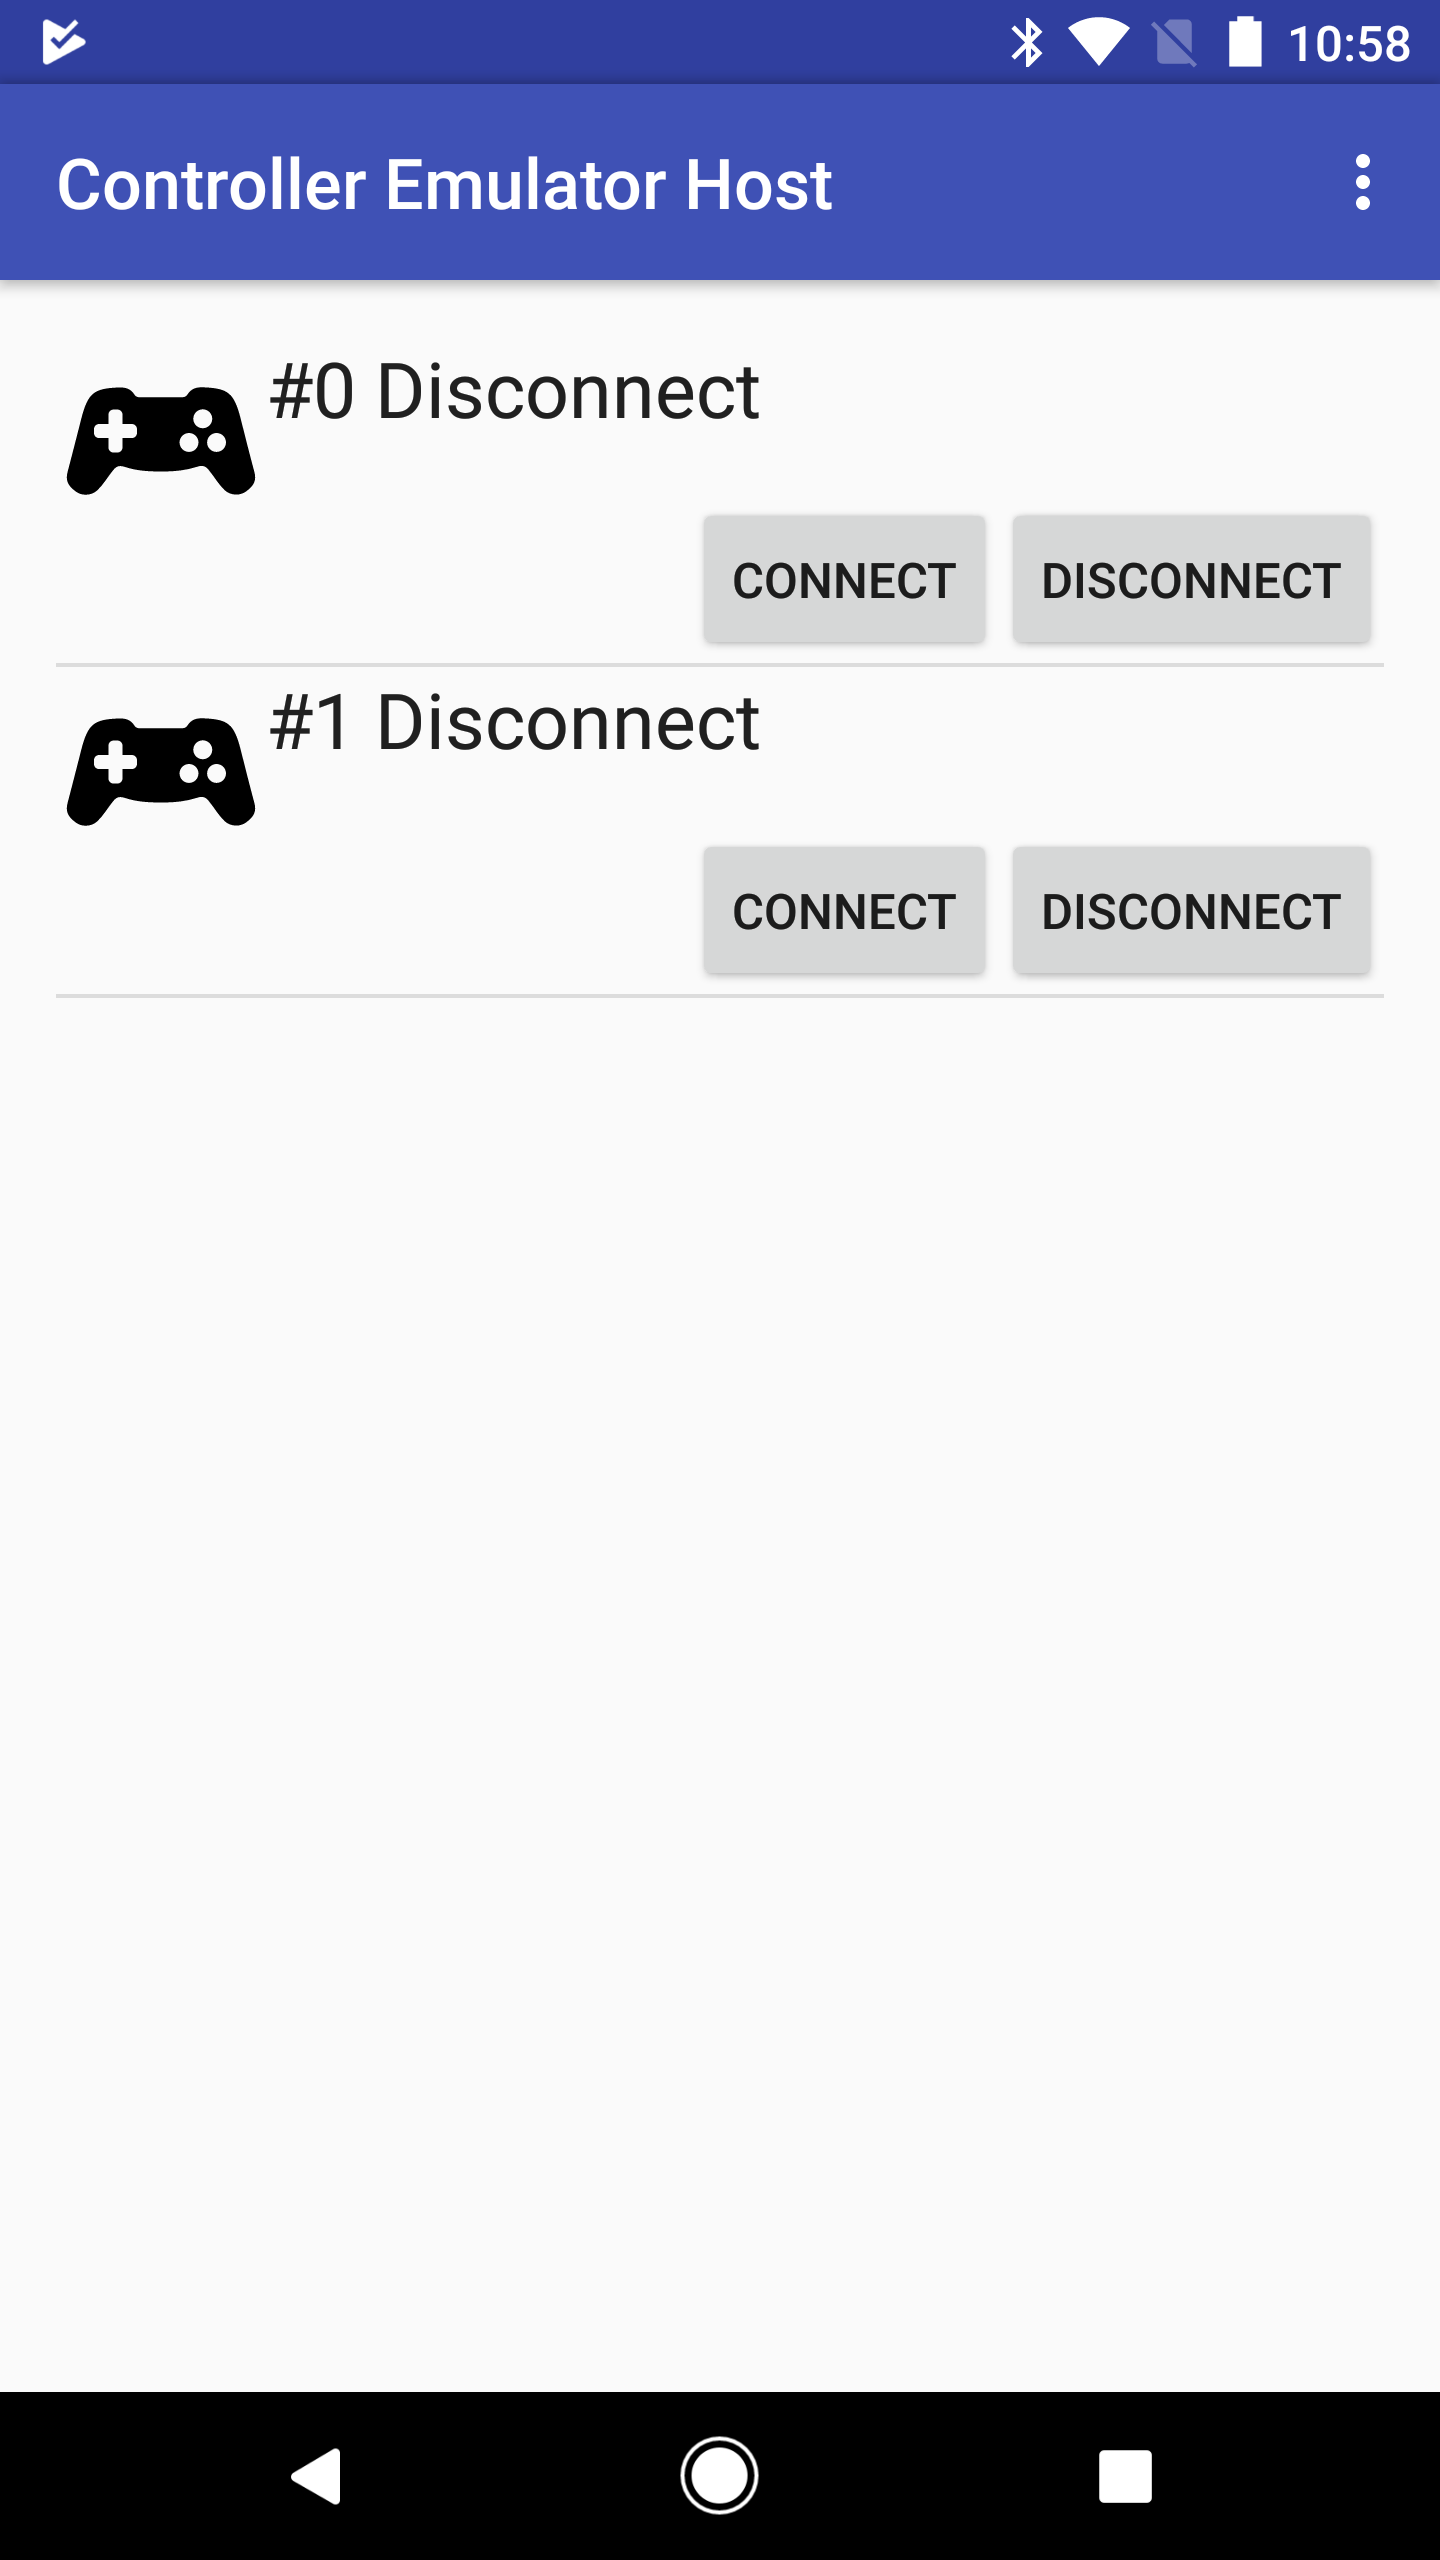
On the HMD phone, there are 2 slots used to connect to the controller phone.
- Tap CONNECT beside the controller slot you want to use.
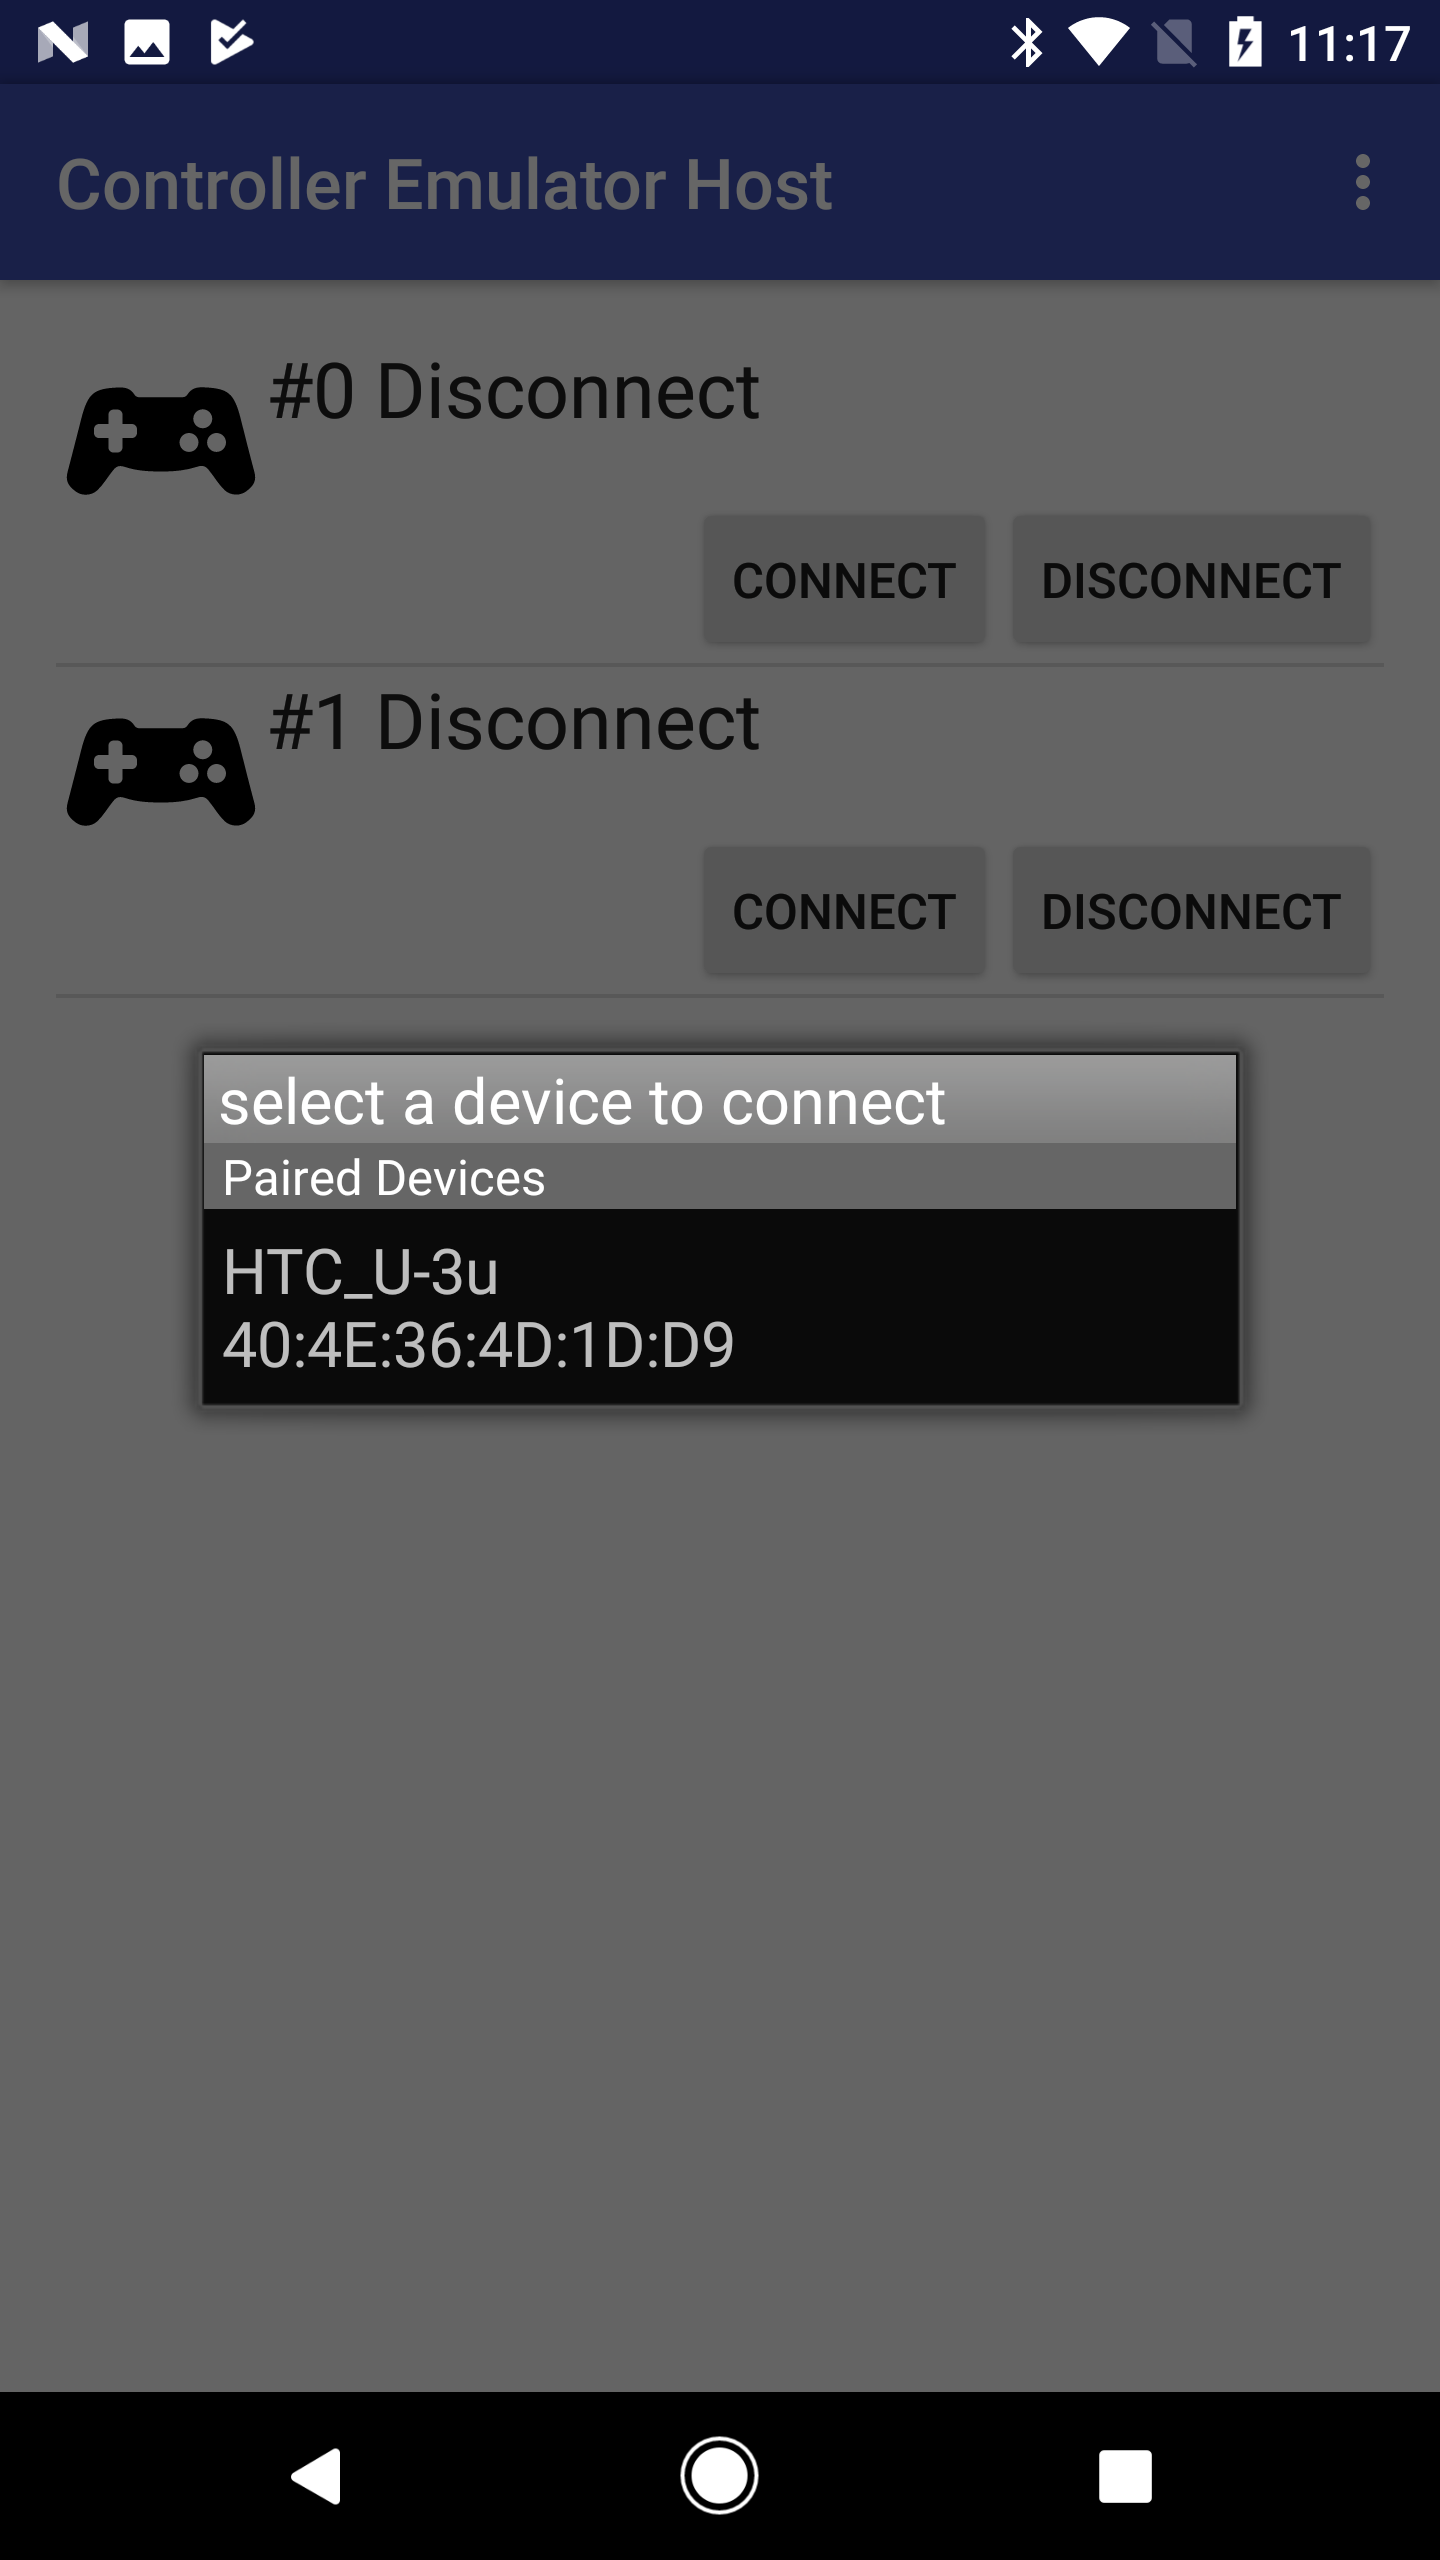
- A selector dialog will appear where you can select a controller to use.
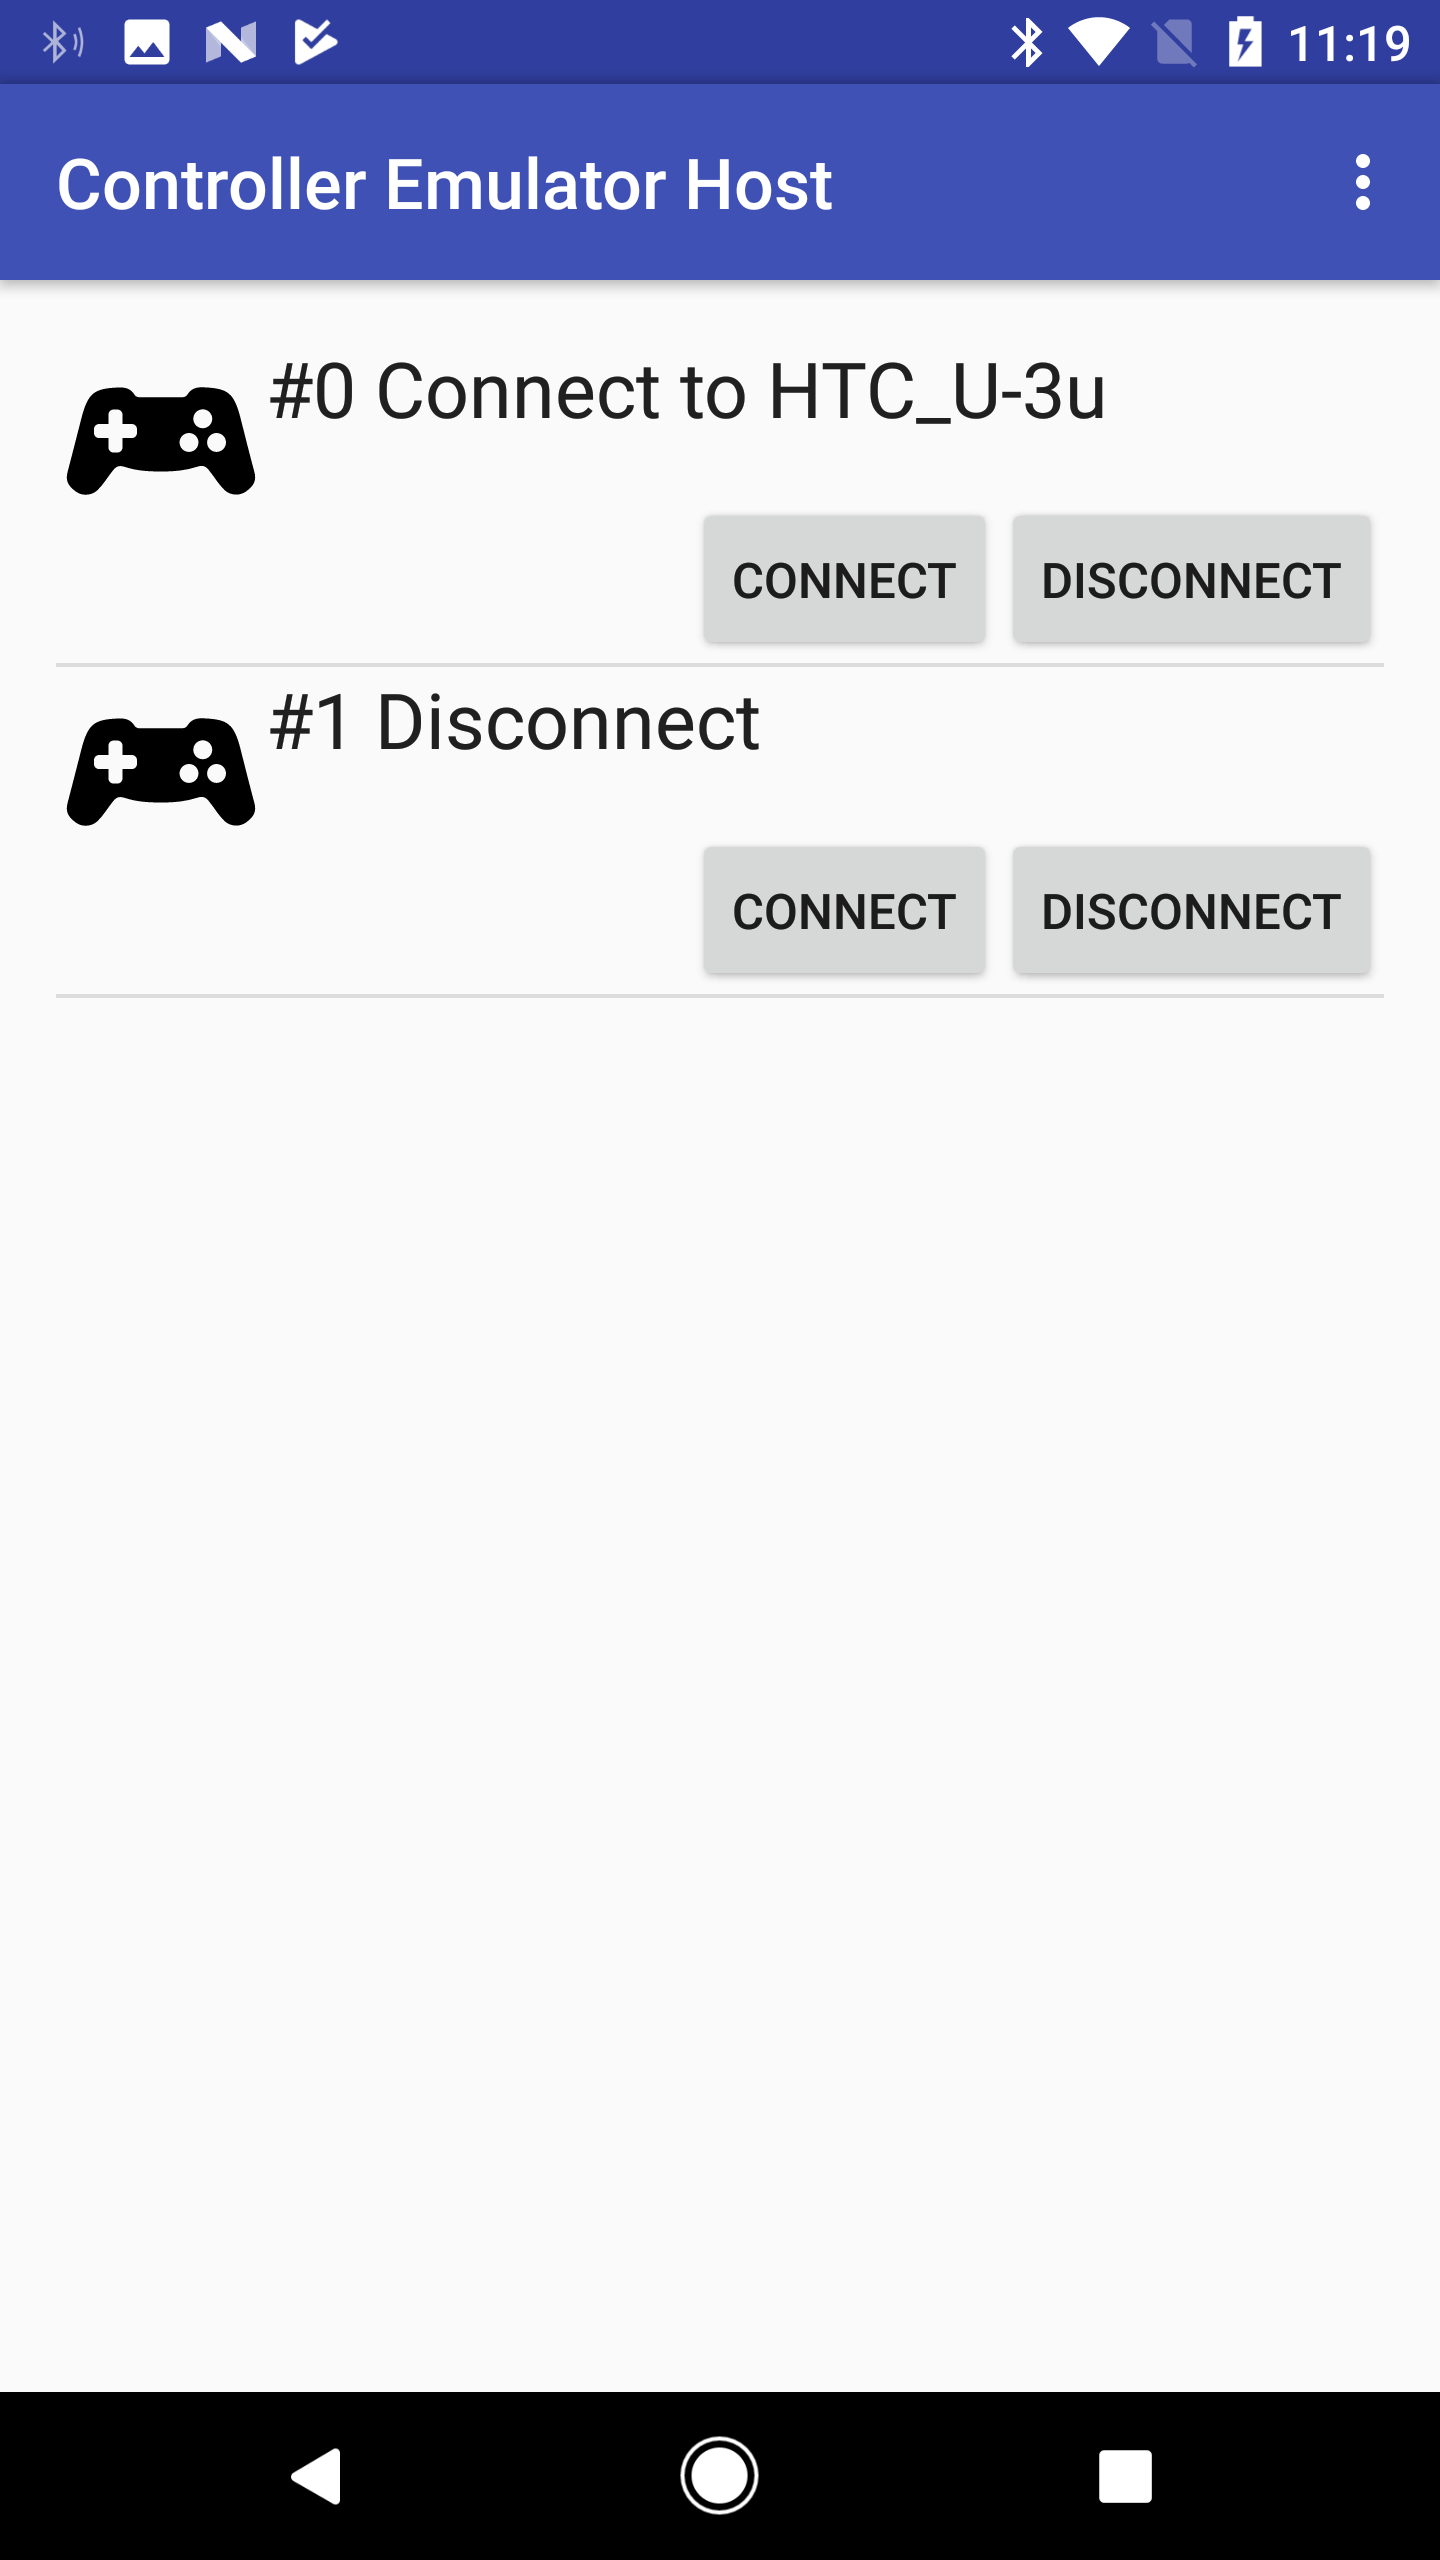
- After connected successfully, the host emulator will show “Connect to {Device}” on the controller slot’s title.
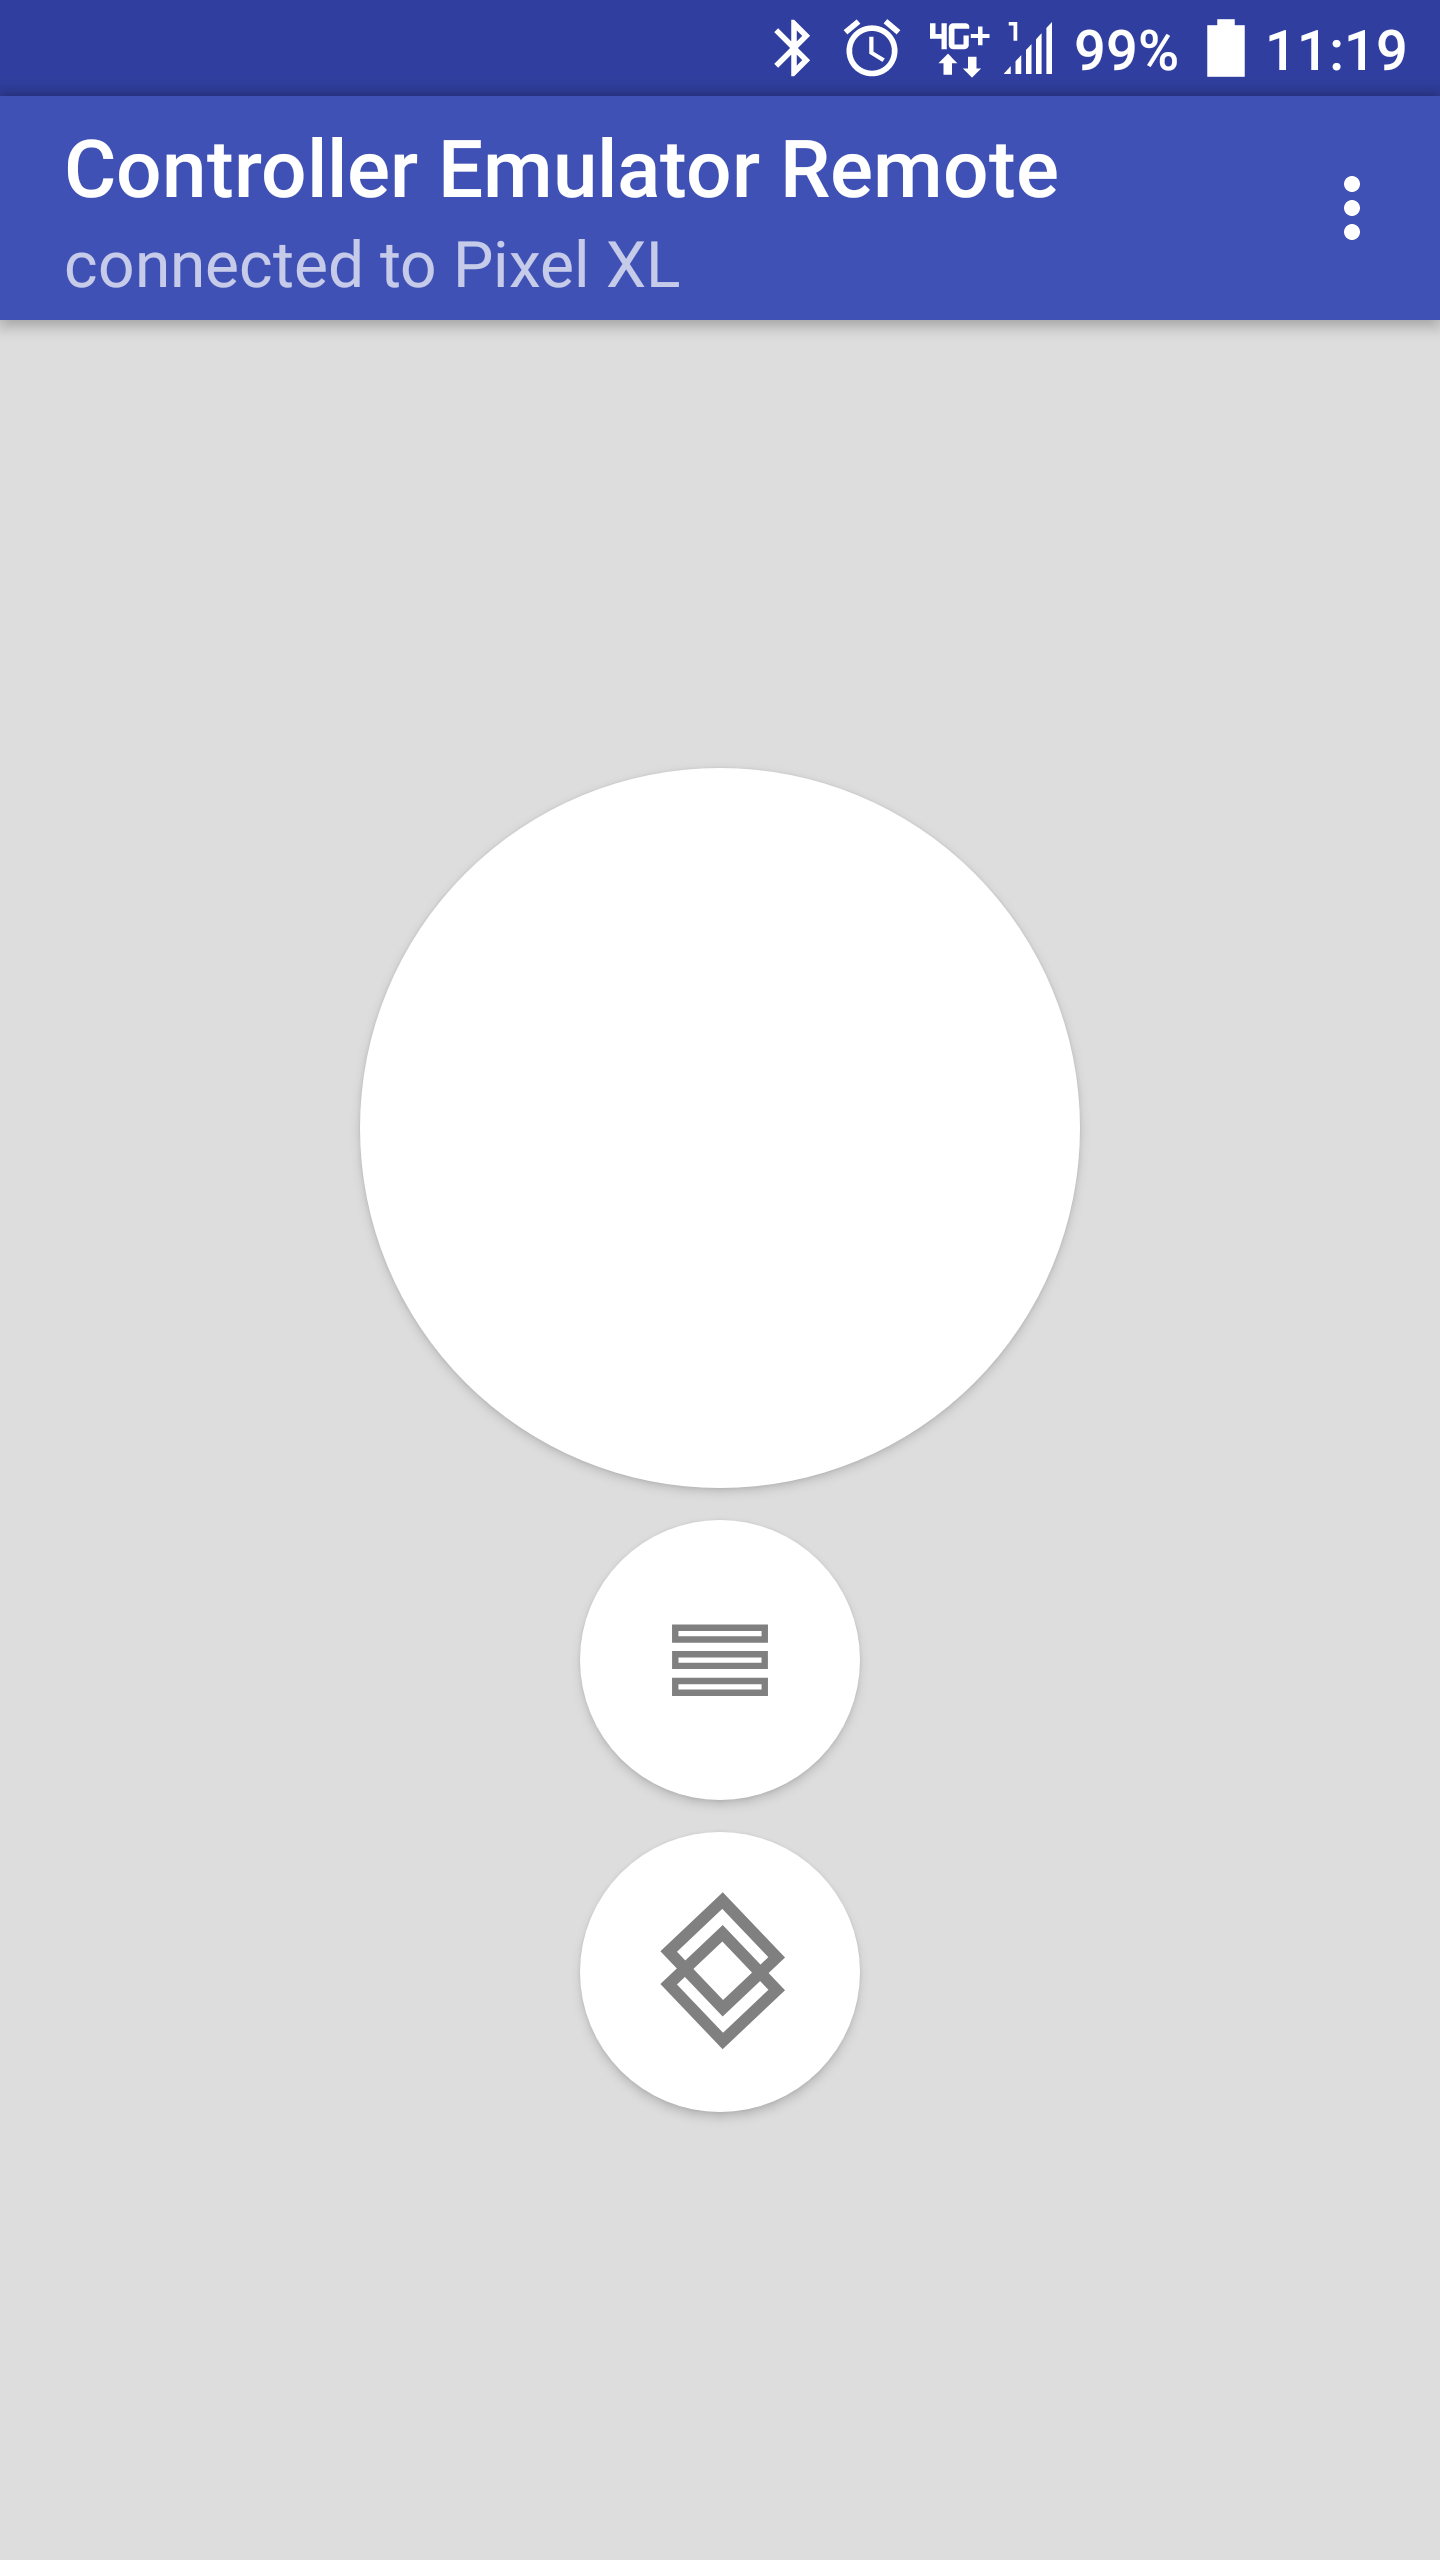
On the controller phone, you can see the cotroller emulator UI contains the following components:
- Trackpad (large circle): Tapping and moving on it triggers the touched event; double-tapping triggers the pressed event.
- Menu button (small circle with 3 lines): Tapping it triggers the pressed event.
- System button (small circle with 2 interlocked diamonds): System button is reserved so the app cannot receive the pressed event.
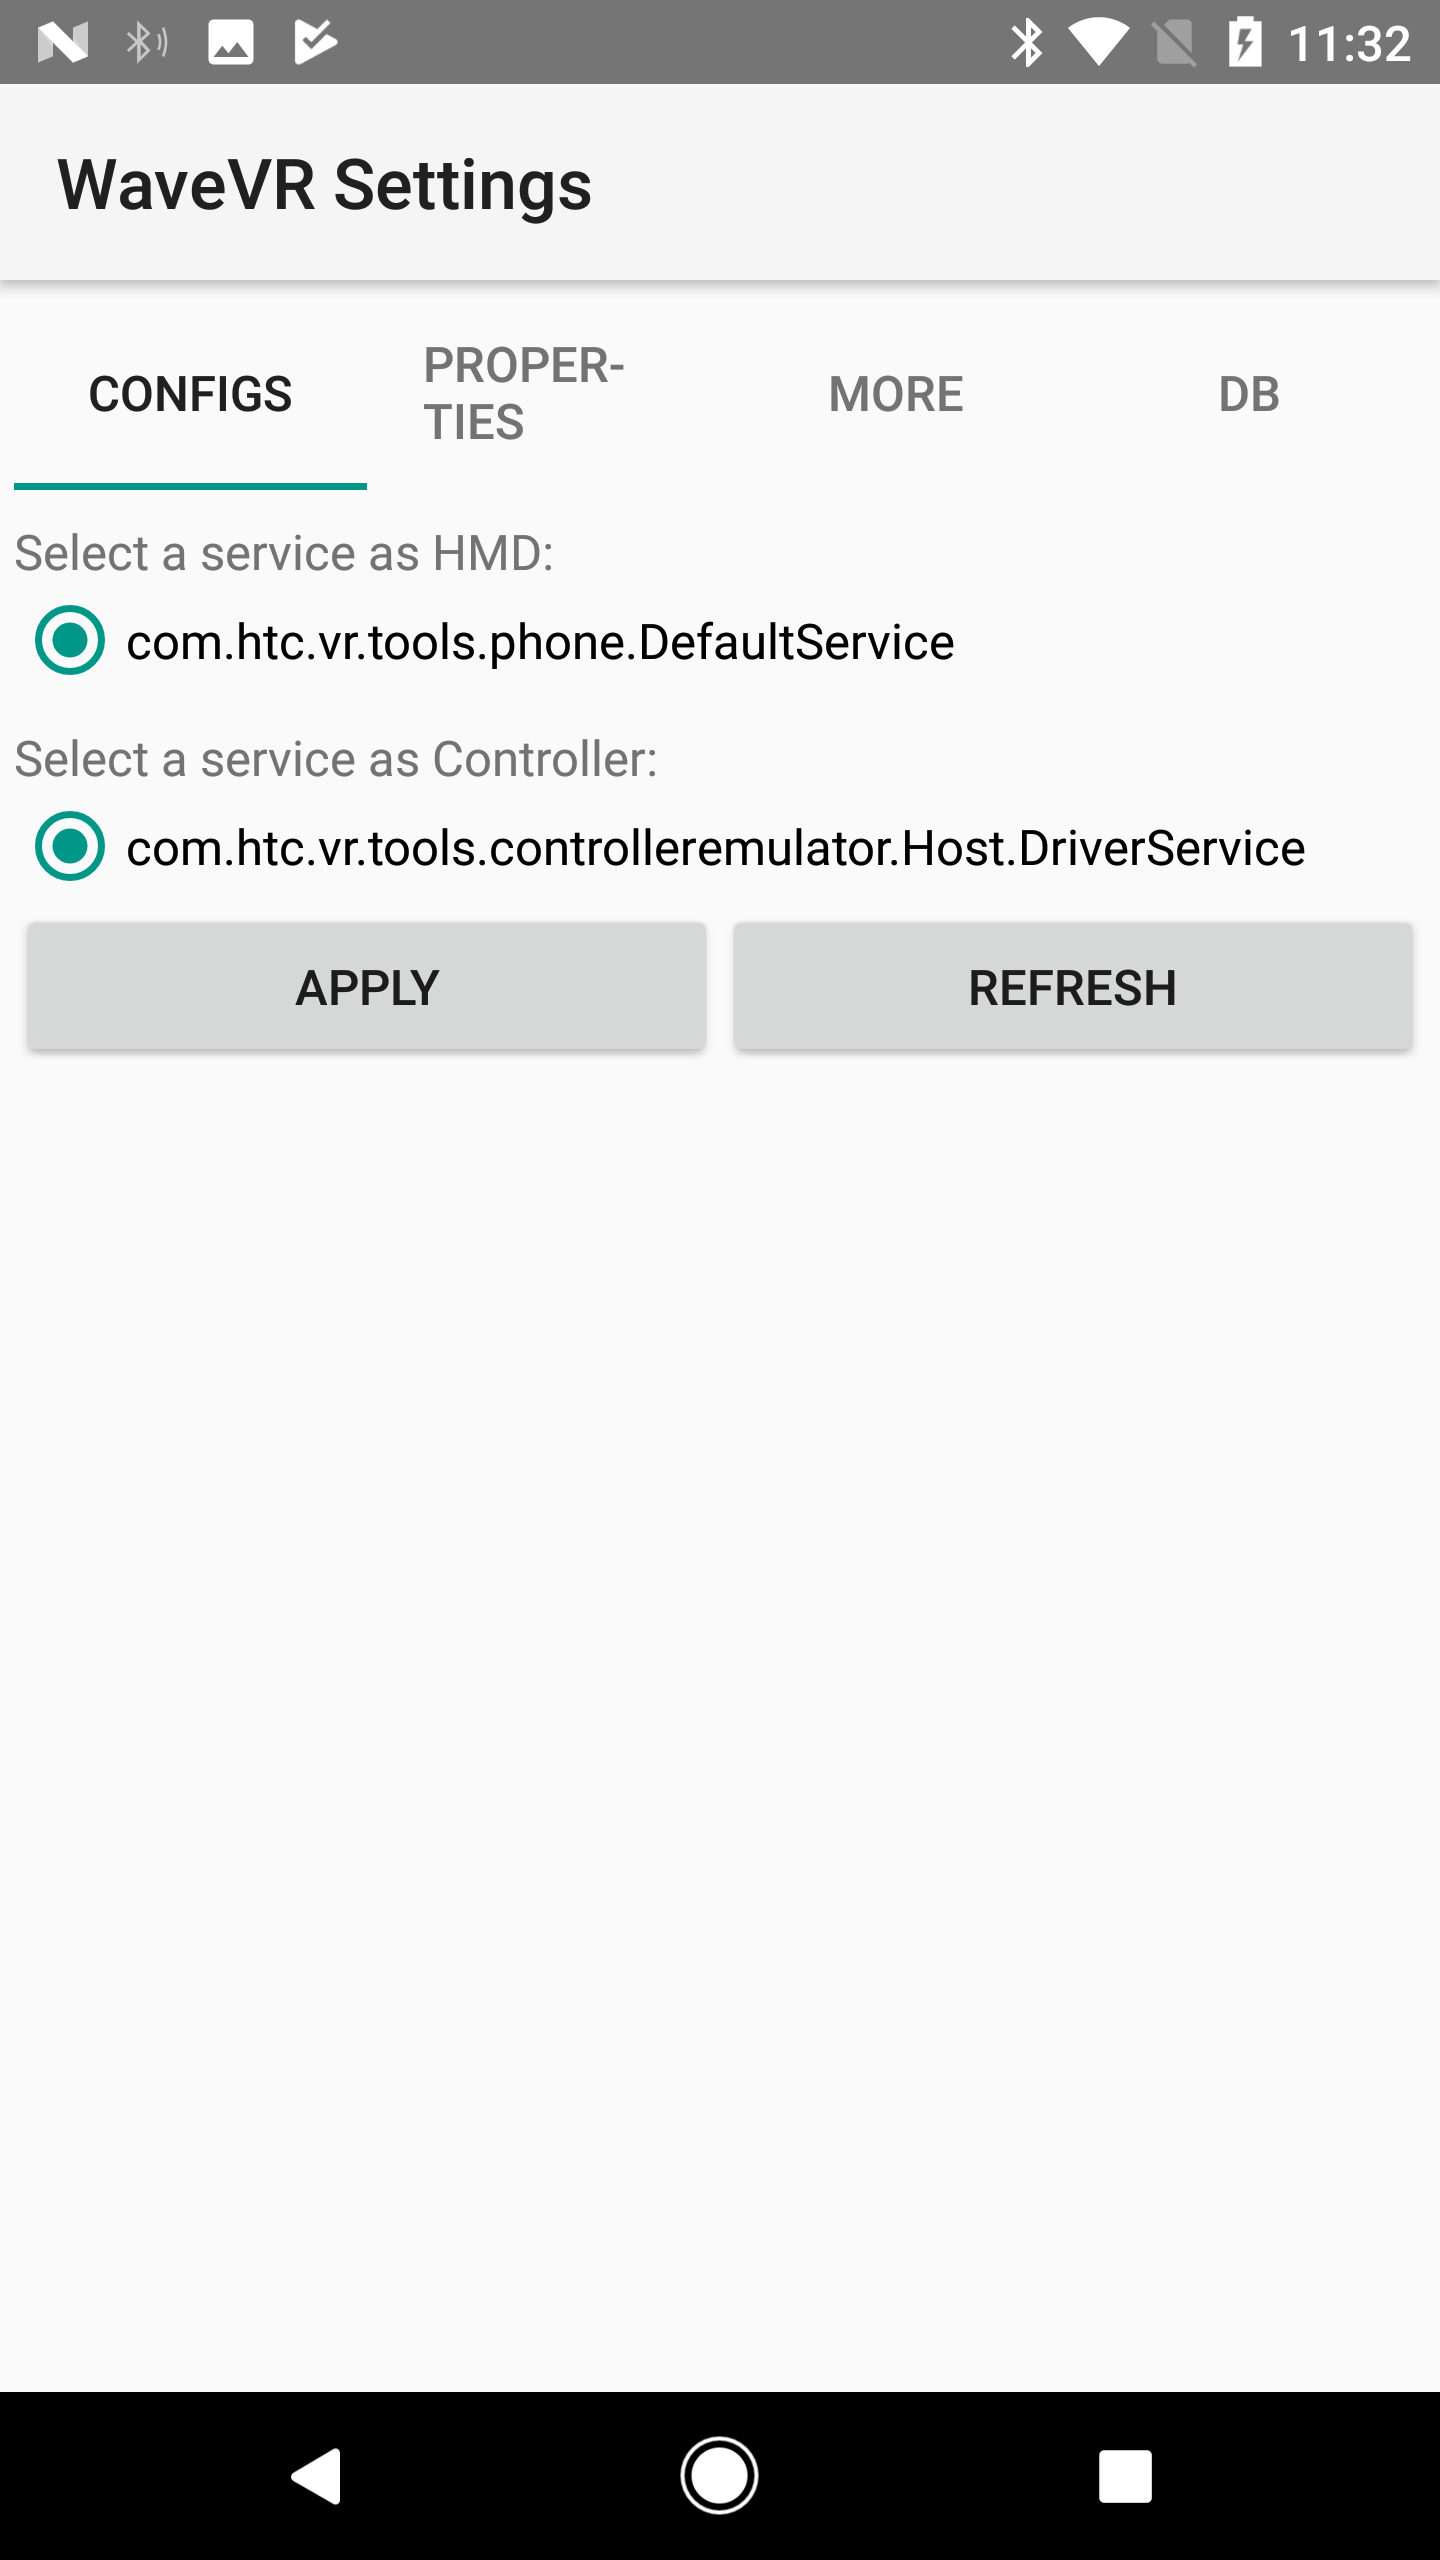
Select Device Service
Device service needs to be configured while the devices are changed. Wave SDK provides a settings tool to configure the used DeviceService. Install and launch WaveVR Settings on your HMD phone.
adb install SDK/tools/wavevr_settings-release.apk
Select the HMD and controller device service and then tap APPLY.
Run the Wave App
Install and launch “HelloVR” on your HMD phone.
adb install samples/wvr_hellovr/app/build/outputs/apk/debug/app-debug.apk
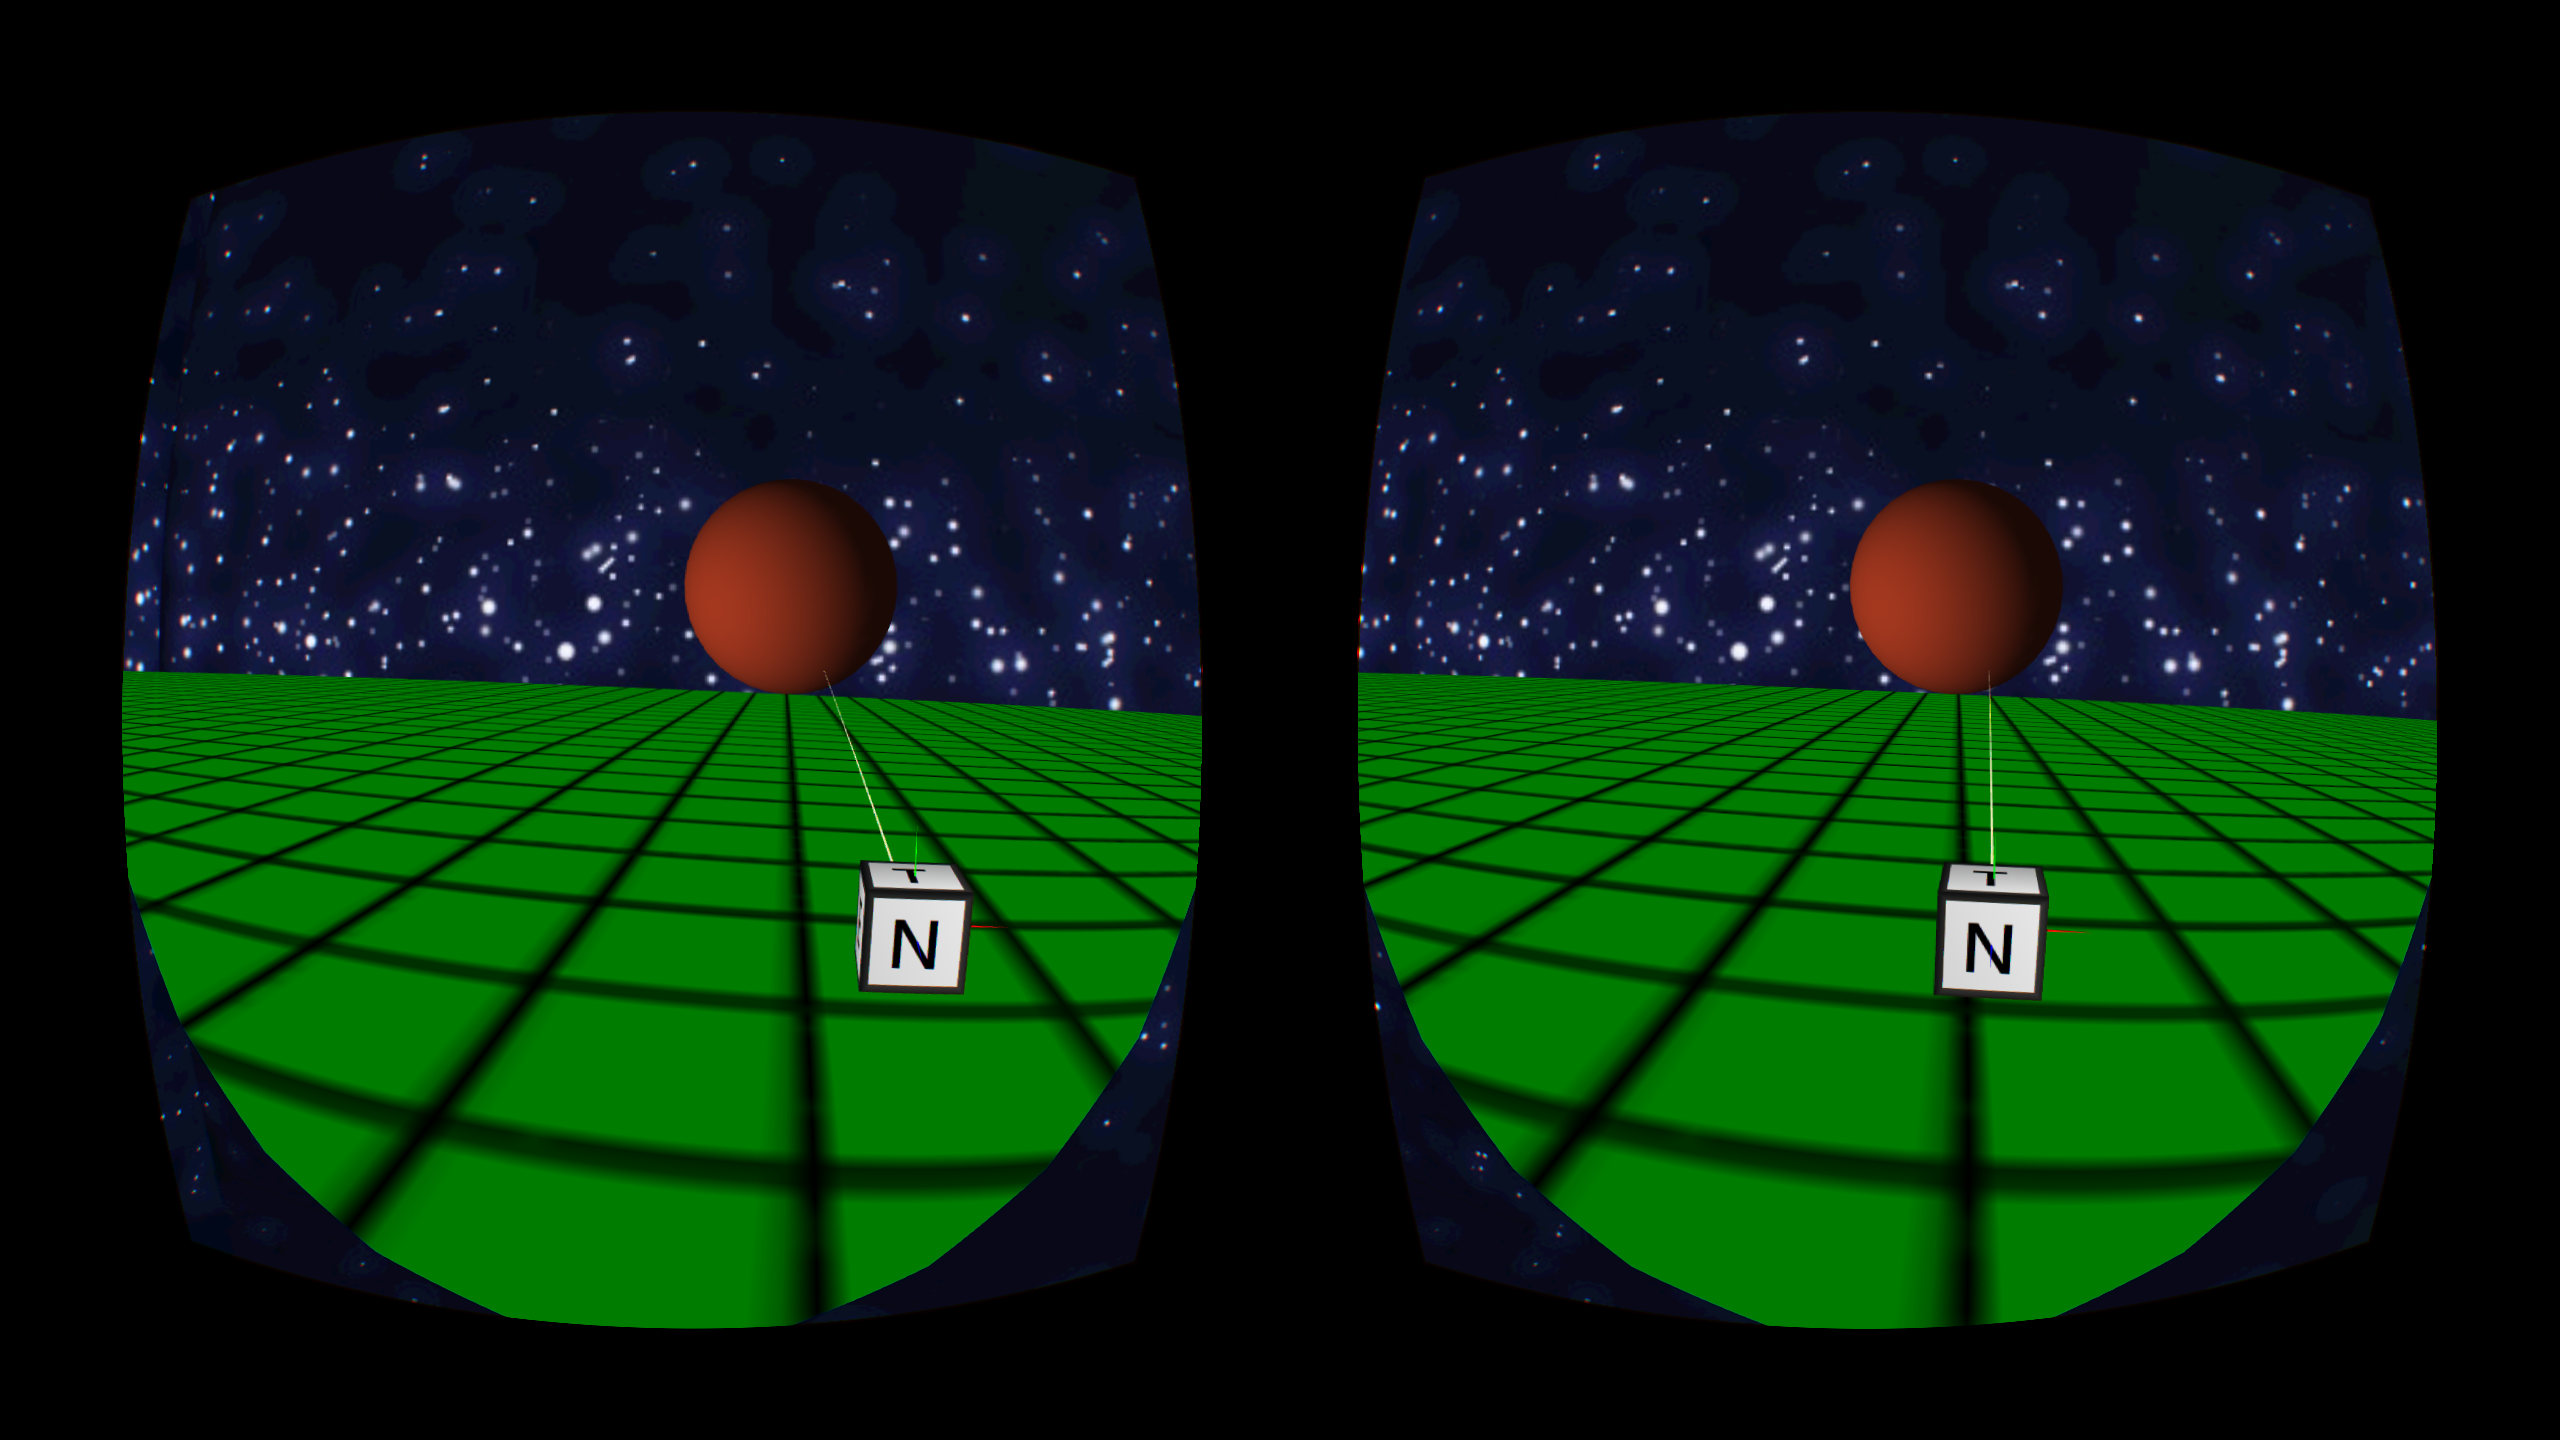
You will see the scene as below and can use controller emulator to operate it:
- Long press System key to re-center the scene.
- Aim the controller pointer at the ball to change the ball color from green to red.
- Double-tapping the trackpad makes the ball moving.